5 Disastrous Errors to Avoid When Choosing the Right Campsite for Beginners
FIELD BRIEFING: For a successful mission, choosing the right campsite for beginners is about more than just a good view; it’s about tactical positioning. The wrong site can lead to a sleepless night, equipment failure, or a compromised “extraction” due to unexpected weather shifts. In the wilderness,…
For a successful mission, choosing the right campsite for beginners is about more than just a good view; it’s about tactical positioning. The wrong site can lead to a sleepless night, equipment failure, or a compromised “extraction” due to unexpected weather shifts. In the wilderness, your campsite is your primary defensive position against the elements.
This field manual introduces the “5-S Protocol”—a systematic approach to reconnaissance that ensures your base of operations is secure, sustainable, and high-morale.
1. The “5-S” Protocol: Strategic Site Recon
Before you drop your rucksack, execute a 360-degree sweep of the Area of Operations (AO). Choosing the right campsite for beginners requires a disciplined evaluation of the terrain using these five metrics:
2. Terrain Intelligence: The High-Ground Doctrine
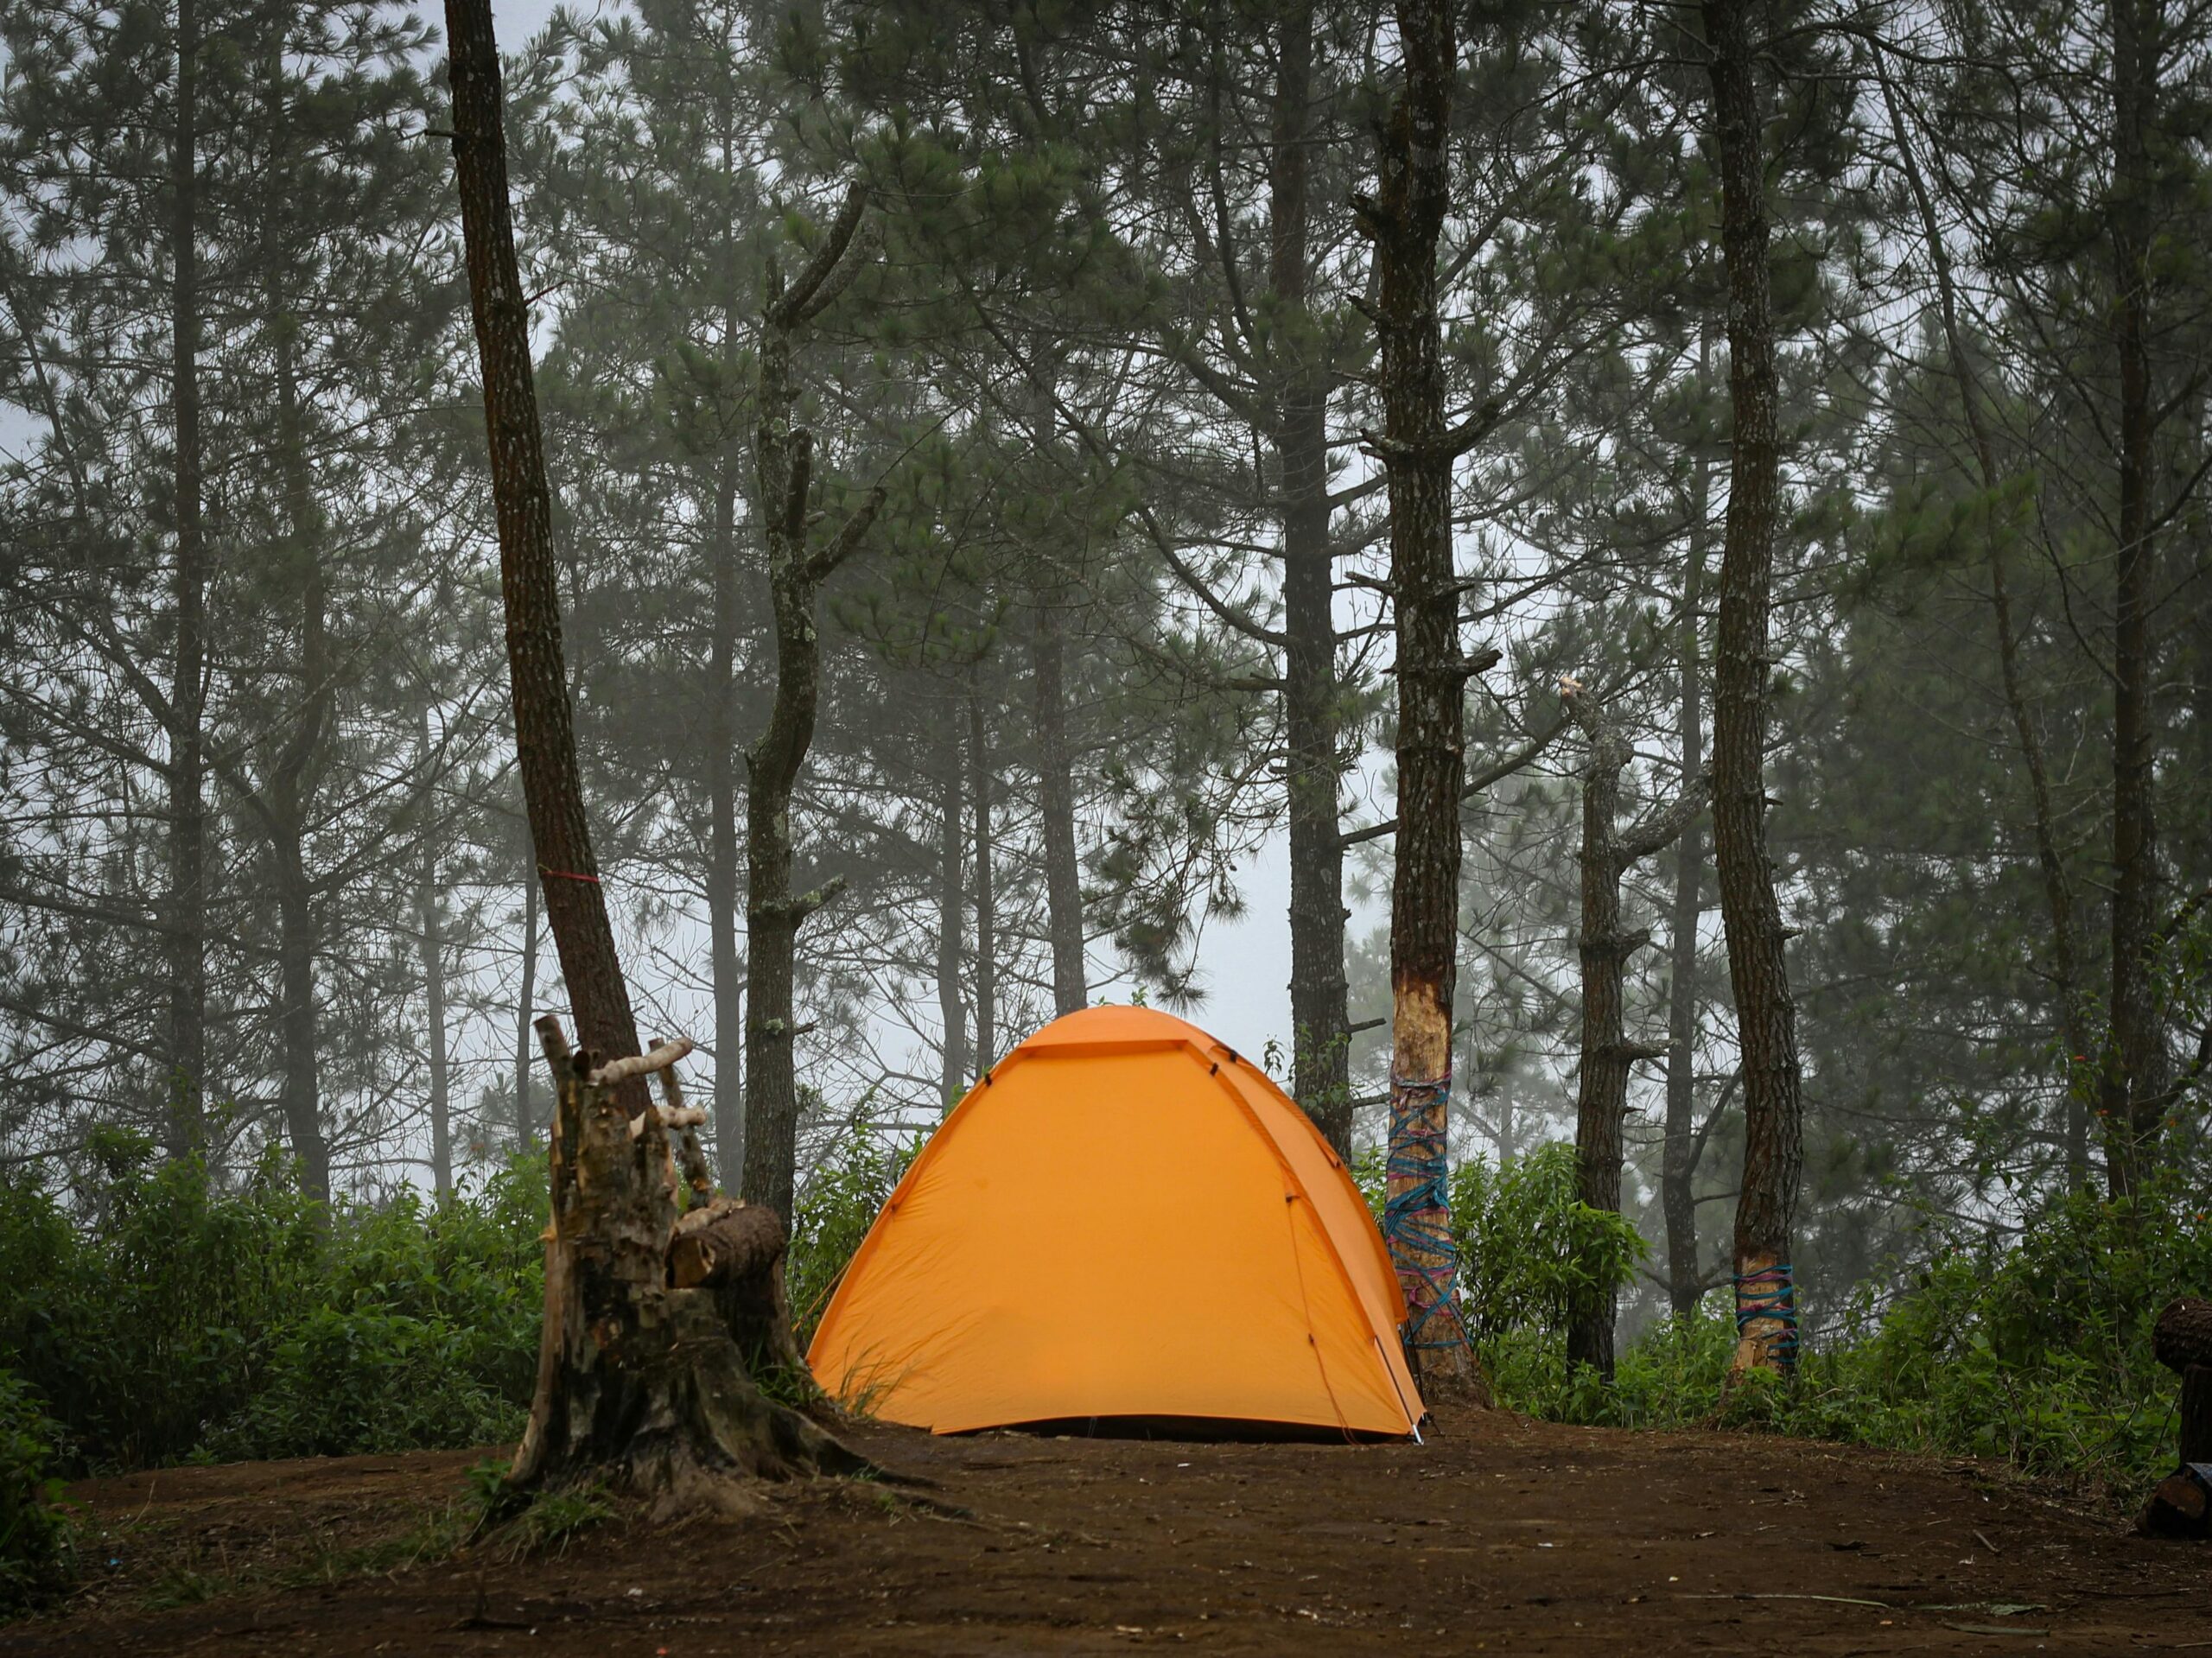
A common rookie error in choosing the right campsite for beginners is selecting the lowest point in a valley or a scenic basin. While these areas often look “protected” and offer easy access to water, they are tactical traps that can lead to gear failure and physiological stress.
- Cold Sinks and Thermal Inversion: Cold air behaves exactly like water; it is denser than warm air, meaning it flows downhill and settles in depressions. When choosing the right campsite for beginners, you must understand the “Thermal Belt.” A site positioned at the very bottom of a basin can be 10°F to 15°F colder than a site positioned just 50 feet higher up the slope. By establishing your outpost on a slight bench or “shelf” above the valley floor, you take advantage of the warmer air trapped mid-slope, preserving your “Heat Core” and reducing the demand on your sleep system.
- Flash Flood Risk and Hydrological SOPs: Never trust a dry riverbed or a scenic “arroyo.” These are not campsites; they are drainage conduits. When choosing the right campsite for beginners, you must analyze the broader theater of operations. Even if the sky is clear at your current coordinates, a localized storm ten miles upstream can send a vertical wall of water through your camp with zero warning. Look for “debris lines” (clumps of grass or sticks caught in high branches) that indicate the high-water mark of previous floods. Always seek “Level 1” high ground—terrain that is elevated at least 20–30 feet above the nearest water source.
3. The “Widowmaker” Audit: Overhead Hazard Identification
Before you drive a single stake into the earth, you must look up. Choosing the right campsite for beginners requires a 360-degree overhead scan to identify dead, hanging branches or leaning trees, colloquially known in the field as “Widowmakers.”
- Tactical Rationale and Structural Integrity: These are gravity-fed, high-mass projectiles waiting for a trigger. A tree may look healthy from the trunk, but dead “scaffold” branches in the upper canopy can be dislodged by a midnight gust, a heavy frost, or even the weight of a passing bird. A 50-pound limb falling from 40 feet generates enough kinetic energy to crush a tent and its occupants instantly.
- The “Leaner” Protocol: Beyond dead branches, identify trees that are leaning significantly or have root systems compromised by erosion. In high-wind events, these trees are the first “Soft Targets” to fail. If the canopy above your proposed perimeter looks compromised, or if you see “snags” (standing dead trees) within striking distance, abort the setup and relocate your perimeter immediately. In choosing the right campsite for beginners, your ceiling is just as important as your floor.
4. The “Base Commander” Tool: Digital Anemometer
When choosing the right campsite for beginners, wind speed is a hidden enemy that can rip stakes out of the ground and shred rainflies.
Field Briefing: We recommend carrying a Portable Handheld Anemometer.
- Why it’s Tactical: This device allows you to measure real-time wind gusts before you pitch your tent. If the meter shows sustained gusts above 20 mph, you are likely in a “Wind Tunnel.” Use this data to find a more sheltered sector behind a treeline or rock formation before you commit to the setup.
- Pro-Tip: Use the anemometer to help orient your tent. Position the narrowest profile of your shelter into the strongest wind direction.
5. Drainage and Soil Composition: The Ground-Truthing Phase
The final and most overlooked check in choosing the right campsite for beginners is a detailed analysis of the soil composition. Your “Hard Point” is only as stable as the substrate it is anchored to. Failing to “Ground-Truth” your site can lead to a “Swamp-Out” during a midnight downpour or a total shelter collapse when the wind picks up and your anchors fail.
- Hydrological Absorption Test: Before you deploy your footprint, examine the surface texture. If the ground is hard-packed, glazed, or dusty, it indicates high clay content or extreme compaction. In these conditions, water cannot penetrate the surface; it will sit on top and pool, eventually “wicking” through your tent floor and compromising your sleep system. When choosing the right campsite for beginners, look for “Durable Surfaces” like decomposed granite, gravel, or a thick layer of dry pine needles. these materials allow for rapid drainage, ensuring that even during a heavy extraction-level rain event, the water moves through the ground rather than over it.
- Anchor Integrity and Stake Security: Execute a “Probe Test” by attempting to push a stake into the ground by hand. You must ensure the soil is deep and consistent enough to accept a standard stake at a 45-degree angle. If you hit solid bedrock just two inches down, your perimeter is vulnerable. In rocky theaters where stakes cannot penetrate, you must transition to the “Big Box” Anchor Protocol. This involves using heavy, “man-sized” stones to secure your guy-lines. Wrap your line around a heavy rock, then place a second, heavier rock on top of the line to create a high-friction anchor.
- Biological and Chemical Stability: Observe the color and scent of the soil. Dark, “sour-smelling” earth or mud indicates anaerobic conditions and poor drainage—a “No-Go” zone for camping. Furthermore, avoid areas of loose, fine sand if high winds are predicted; sand has low “Shear Strength,” meaning your stakes will pull out under the tension of a wind-loaded rainfly. For a secure outpost, look for loamy, mineral-rich soil that “bites” the stake and holds it firm against lateral force.
Final Briefing
Choosing the right campsite for beginners is a skill that separates the elite scout from the casual wanderer. By applying the 5-S Protocol and utilizing terrain intelligence, you ensure your outpost remains a place of recovery rather than a theater of survival. By the time you drive your first stake, you should have 100% confidence in the ground beneath you and the canopy above you.
Scout the AO. Secure the High Ground. Stay Ready.
"Observe, orient, decide, and act."